

Quick Answer
To winterize your garden, clean up dead plant matter, cut back perennials, add 2 to 4 inches of mulch around root zones, drain and store irrigation lines, and protect tender plants before the first hard frost. Do this work over 2 to 3 weekends in late fall, ideally once nighttime temperatures start dropping into the 40s. Getting these basics right protects soil health, prevents pest overwintering, and sets you up for a much easier spring planting season.
Introduction
Every fall, I walk through my own backyard beds with a notebook and a cup of coffee, checking what needs to happen before the ground freezes. I’ve been gardening long enough to know that the work you skip in October usually shows up as a problem in April. At idealmarketing.blog, we get a lot of questions this time of year about garden prep, so I wanted to put together the process I actually use, not just a generic checklist.
Winterizing isn’t complicated, but it is sequence-dependent. Do things in the wrong order and you waste effort or damage plants that could have survived just fine.
What Does “Winterizing a Garden” Actually Mean?
Winterizing means preparing your soil, plants, tools, and irrigation systems to survive cold weather with minimal damage. It’s less about “shutting down” the garden and more about protecting what’s still alive underground.
The Core Goals of Winterizing
- Protect roots and perennial crowns from freeze-thaw cycles
- Reduce pest and disease pressure carried over from this season
- Preserve soil structure and nutrients for spring
- Prevent frozen-water damage to hoses, pipes, and containers
When Should You Start?
I usually start prepping about 4 to 6 weeks before my area’s average first frost date. In most of the U.S., that lands somewhere between late September and early November depending on your zone.
How Do You Winterize a Garden Step by Step?
This is the part most people search for, so here’s the exact order I follow every year. Skipping steps or doing them out of order is where most winterizing mistakes happen.
Step 1: Clean Up Dead and Diseased Plant Material
Pull spent annuals and remove any leaves or stems showing mildew, blight, or insect damage. I bag diseased material separately instead of composting it, since home compost piles rarely get hot enough to kill pathogens.
Step 2: Cut Back Perennials (But Not All of Them)
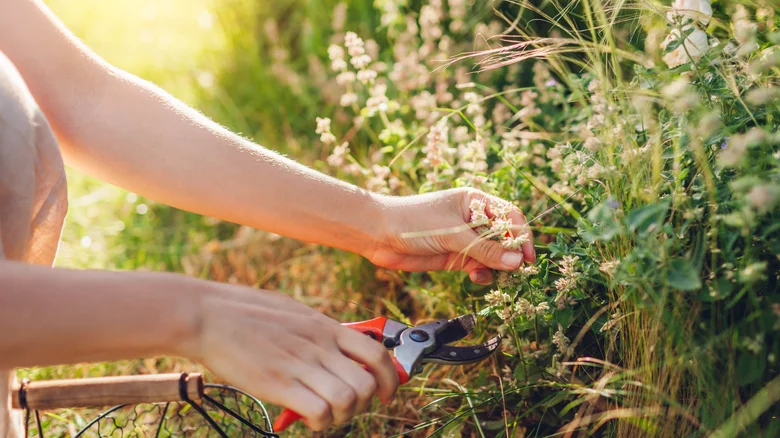
Most perennials benefit from being cut back to 2 to 4 inches above the soil. That said, I leave coneflowers, black-eyed Susans, and ornamental grasses standing through winter because their seed heads feed birds and the structure looks good in snow.
Step 3: Add a Protective Mulch Layer
Spread 2 to 4 inches of mulch (straw, shredded leaves, or bark) around the base of perennials and shrubs. Mulch insulates roots and reduces the freeze-thaw heaving that can push shallow-rooted plants right out of the ground.
Step 4: Plant Spring Bulbs
If you want tulips, daffodils, or crocuses next spring, this is your last window. I plant bulbs about 3 times as deep as the bulb is tall, pointed end up.
Step 5: Protect Tender and Container Plants
Move potted plants that can’t survive frost into a garage, shed, or indoors. For in-ground tender plants, a frost cloth or burlap wrap on cold nights can buy you an extra few weeks.
Step 6: Winterize Irrigation and Hoses
Drain hoses fully and disconnect them from outdoor spigots before the first freeze. If you run drip irrigation, blow out the lines with compressed air so trapped water doesn’t crack the tubing.
Step 7: Amend and Protect Bare Soil
Bare soil erodes and loses nutrients over winter. I either plant a cover crop like winter rye or spread a thick layer of compost and mulch over empty beds.
Should You Winterize a Vegetable Garden Differently?
Vegetable beds need a slightly different approach than ornamental beds, mainly around soil health and pest control. The goal shifts from protecting plants to protecting the soil itself.
Vegetable Garden Winterizing Checklist
- Pull all spent vegetable plants, including roots, to remove pest habitat
- Test soil pH in fall so you have time to amend before spring planting
- Add 2 to 3 inches of compost directly onto beds
- Cover beds with mulch, straw, or a cover crop
- Clean and sharpen tools before storing them for the season
In my experience, beds that get a fall compost layer need noticeably less fertilizer the following spring. It’s one of the easiest wins in the whole process.
Garden Winterizing Timeline by Task
| Task | When to Do It | Why It Matters |
|---|---|---|
| Cleanup and pruning | 6 weeks before first frost | Reduces pest and disease carryover |
| Mulching | 4 weeks before first frost | Insulates roots before ground freezes |
| Bulb planting | Before ground freezes | Bulbs need weeks of cold soil to root |
| Irrigation winterizing | Before first hard freeze | Prevents cracked hoses and pipes |
| Tender plant protection | At first frost warning | Frost can kill overnight |
Pro Tip: The Mistake I See Most Often
Here’s something I learned the hard way. Years ago, I mulched too early, while the soil was still warm from summer. The trapped heat and moisture invited slugs and fungal issues instead of preventing them.
Now I wait until after the first light frost, once the soil has actually started cooling, before laying mulch down. It’s a small timing shift that made a real difference in plant health the following spring.
What Tools Do You Need to Winterize a Garden?
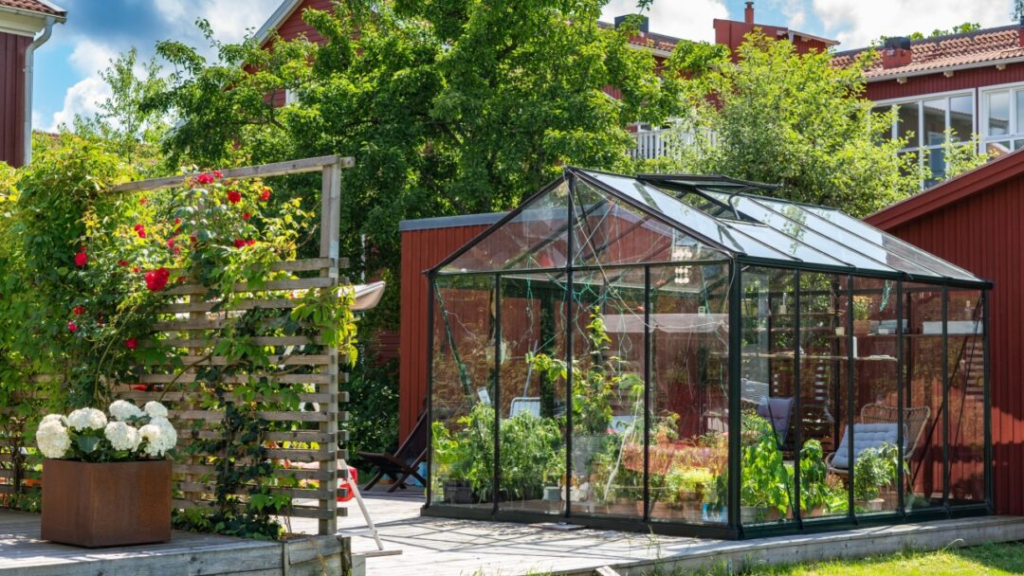
You don’t need anything fancy for this. A basic setup handles almost every task on this list.
- Pruning shears or loppers for cutting back perennials
- A garden fork or hoe for light soil turning
- A wheelbarrow for moving mulch or compost
- Frost cloth or old bedsheets for emergency frost protection
- A hose reel or storage hook for winterizing hoses
I’ve used the same pair of bypass pruners for about eight years now. Cleaning the blades with rubbing alcohol after each fall use is the main reason they’ve held up.
Common Winterizing Mistakes to Avoid
- Cutting back plants too early, before they’ve gone dormant
- Mulching directly against stems and trunks, which can cause rot
- Leaving garden hoses connected during a hard freeze
- Skipping soil testing, then guessing at spring amendments
- Composting diseased plant material instead of discarding it
FAQ
When is the best time to winterize a garden?
The best window is 4 to 6 weeks before your area’s average first frost date. This gives plants time to go dormant naturally before you start cutting back or mulching.
Do I need to cut back all my perennials in fall?
No. Cut back most soft-stemmed perennials, but leave ornamental grasses and seed-head plants like coneflowers standing for winter interest and bird food.
How thick should winter mulch be?
Aim for 2 to 4 inches around the base of plants. Thicker mulch can trap too much moisture and encourage rot against stems.
Should I fertilize my garden before winter?
Light compost application is generally more useful than synthetic fertilizer in fall, since it improves soil structure without pushing new tender growth right before frost.
Can I still plant bulbs in late fall?
Yes, as long as the ground isn’t frozen solid. Bulbs need several weeks of cold soil to establish roots before spring.
How do I protect potted plants from frost?
Move frost-sensitive containers indoors, into a garage, or group them together against a sheltered wall with frost cloth covering them on cold nights.
Is it necessary to winterize garden hoses?
Yes. Water left inside hoses can freeze, expand, and crack the material, which usually means replacing the hose the following spring.
What should I do with fallen leaves in the garden?
Shredded leaves make excellent free mulch. Whole leaves left in thick piles on lawns can suffocate grass, so shred or thin them first.
Conclusion
Winterizing your garden really comes down to a handful of consistent habits done in the right order and at the right time. Clean up, protect roots, drain your systems, and give your soil something to work with over winter. For more hands-on, tested gardening guides like this one, visit idealmarketing.blog will keep adding practical resources as each season changes.